
How to Build Floating Shelves
If your home lacks built-in storage, you may find yourself struggling to keep the space clear and uncluttered.
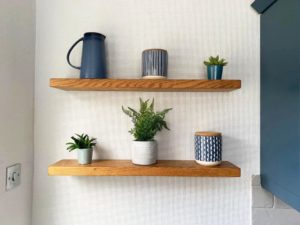
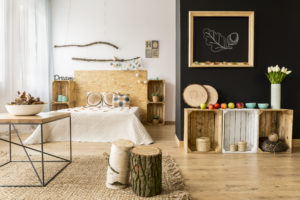
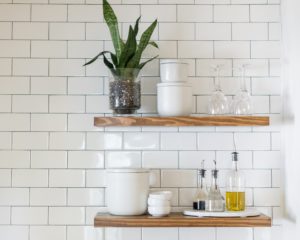
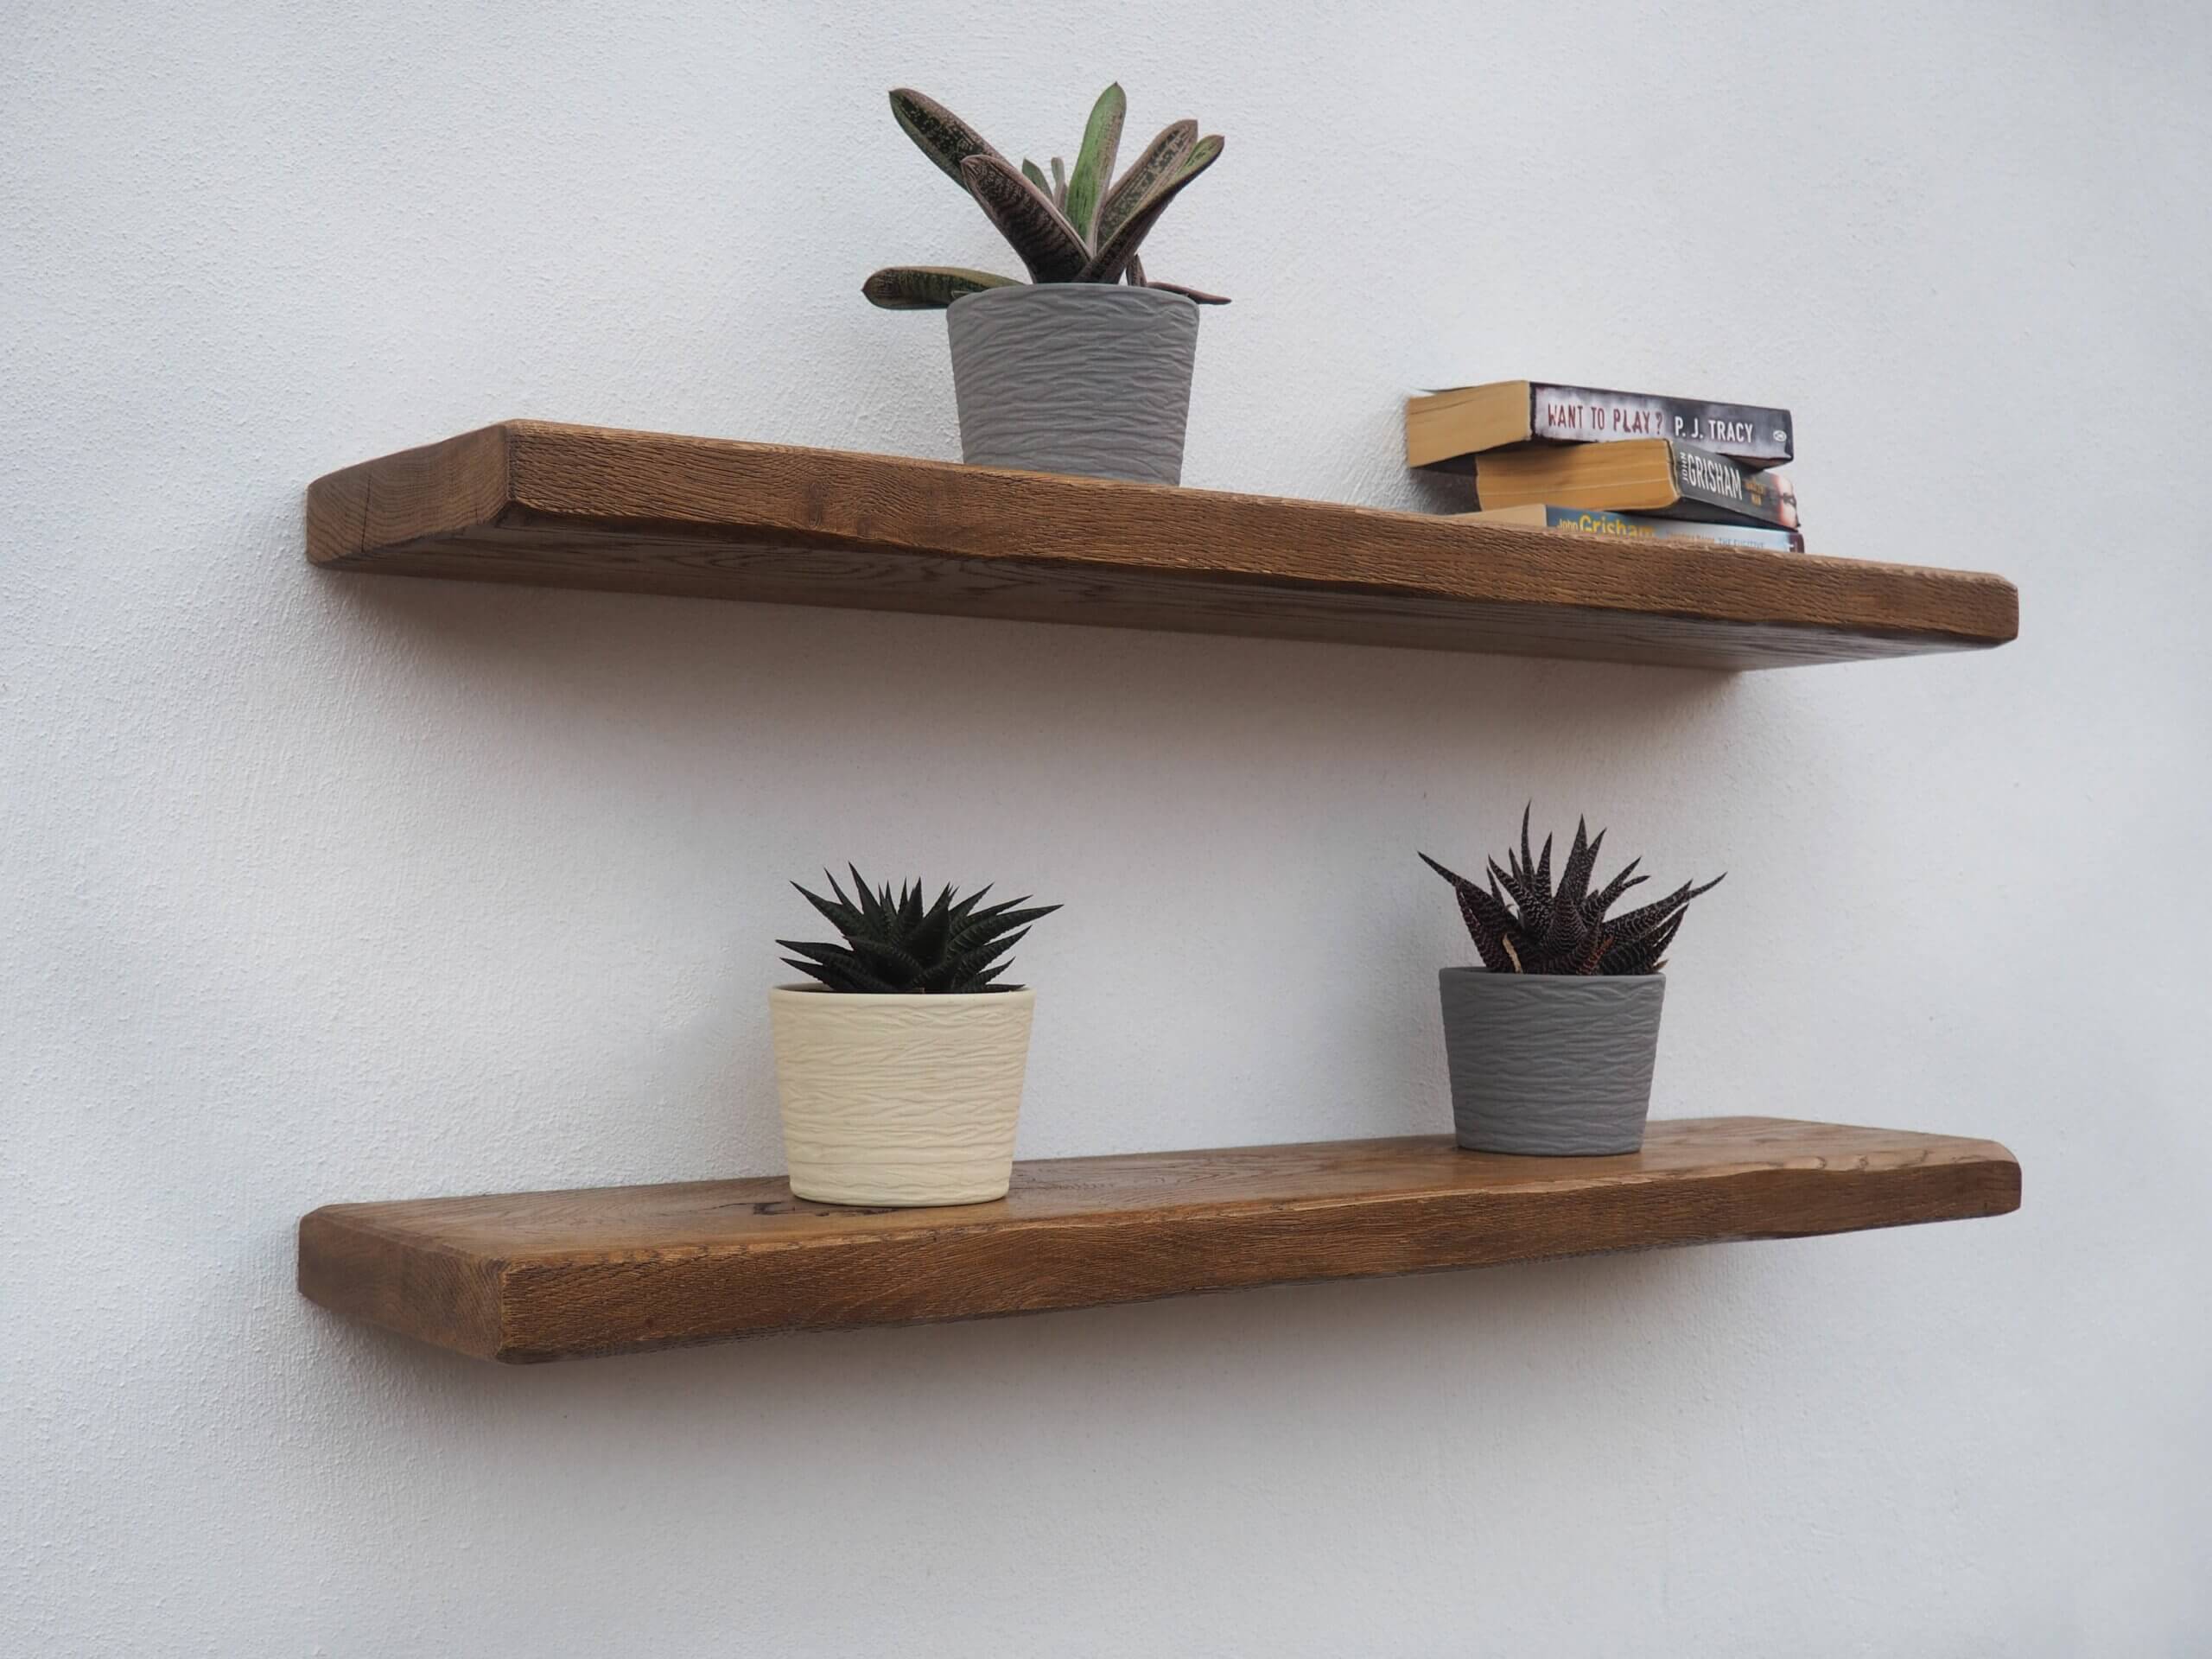
Guess what, we have the answer to your problems: Floating shelves! They not only give your space a clean, chic and modern look, but they also take up minimal space, utilizing vertical wall space, rather than floor or surface space.
Bring a sense of va-va-voom to your room by displaying books, ornaments, plants and toys alike on these floating shelves. They will act as the true intersection between style and practicality. Building your own floating shelves may seem like an impossible task, but we are here to tell you that it’s perfectly simple.
Contents
You Will Need
Making your own floating shelf, or going to independent suppliers, will be the best way to ensure that it has a unique, custom look, perfect for your space alone. Large scale brands like IKEA will give you a product with far less character. If you are choosing to build your own shelf, you will need the following tools:
- 2” x 10” solid pine or oak wooden plank
- Miter saw or circular saw
- Hand or bench router with dado router bit
- ½” paddle bit
- Drill press (optional)
- Sand paper (medium grit)
- Cloth (2 or 3)
- Stain or paint
- Polyurethane (optional)
- Paintbrush
- An appropriate shelf support for your wall’s material
- Pencil
- Drill
- Level
Method
The actual steps for creating your solid wooden floating shelf are fairly easy, and the active part of the project will take around half a day.
Step 1
Cut out the actual shelf shape. It is more cost efficient to buy one large piece of wood that can be made into multiple shelves.
Based on the space you have available, work out what size you want to cut your shelves. Then, after carefully marking the wood with a pencil, ensuring all of your edges are even, parallel and straight, use your circular saw or a miter to cut them out.
Take extra care while doing this to make sure you follow the straight lines! Another word of caution is that you wear an eye covering, to prevent dust from getting in your eyes. Also ensure there is no loose clothing or hair, to avoid injuring yourself.
Step 2
Make notches in the rear of the shelf for the wall fixing hardware. You can use a hand router for this, so you get the precision. Depending on what hardware solution you’ve used, the measurements will vary. Make sure you read the instructions!
This notched back is essential to prevent gaps between the shelf and the wall.
Step 3
Install the hardware into your shelf. You can use a hand drill for this, and make sure you’ve made the holes deep enough for your hardware, and the correct width. This, again, will be dependent on the type of hardware you use.
The holes will need to be straight and even.
Step 4
Finish the shelf. For that smooth and cosy feeling, you will want to sand, stain and wax your shelf. This bit is entirely up to you however, and whether you want pink shelves or rustic brown ones.
If you’re staining the wood, make sure you do so in a well-ventilated area, away from any open flames. Wipe off the extra stain before leaving to dry. For that glossy look, cover them with polyurethane lacquer. Make sure you have allowed the floating shelves to dry completely, before you do anything further with them.
Step 5
Install the shelves. There are a number of fantastic hardware solutions out there, and the type you choose will depend on whether you’ve got plasterboard walls or solid walls. Either way, they allow you to fix your floating shelves to the wall, cleanly and invisibly, without much extra hassle.
Decide where you are putting your shelves and carefully mark and measure the hardware placement. Use precision tools, such as a level to get this right, or else you’ll forever be picking bits up, which have fallen from your wonky shelf.
Once you have got the hardware into the wall, slot it into the holes in the back of your shelves, you drilled earlier. Hey presto, shelves!
Amen Sharma
Related Posts


Featured Products
-
Rustic Oak Floating Shelf For Plasterboard Walls *Aged*
From: £58.00 inc VAT Select options This product has multiple variants. The options may be chosen on the product page -
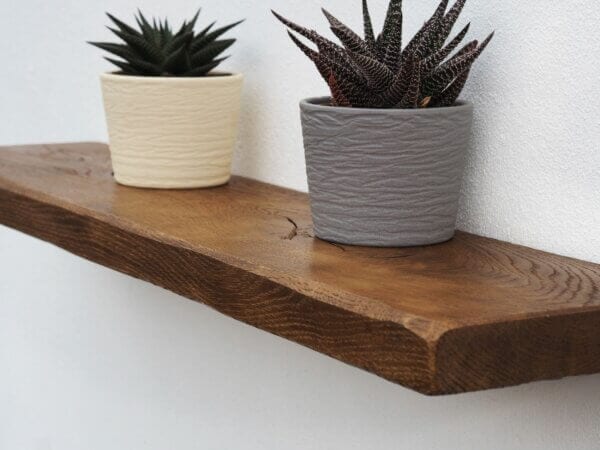
Rustic Oak Floating Shelf Aged
From: £46.00 inc VAT Select options This product has multiple variants. The options may be chosen on the product page
